
 Don’t know how to crochet? Here are a few great resources for beginning steps and patterns from other talented online bloggers.
Step-by-Step Stitch Guide provided by thestitchsharer
Lots of cute patterns and reviews from Sugar’s Sweet Stitches
Lots more ideas from Hello, I’m Amee
DIRECTIONS:
Arms and legs (make 4)
Chain 10, DC 2 in the third chain from the hook, DC 2 in the rest of the chains for a total of 16 DC. Finish off.
Head-
Chain 2
R1: 8 SC in the second chain from the hook, chain 1 through the first SC and the last SC to connect the circle, chain 1 and rotate
R2: SC 1, SC 2 in the next stitch of R1, repeat until you have 12 SC, connect the circle, chain 1 and rotate
R3: SC 2 stitches in a row, SC 2 in the third stitch of R2, repeat until you have 16 SC, connect the circle, chain 1 and rotate
R4: SC 3 stitches in a row, SC 2 in the fourth stitch of R3, repeat until you have 20 SC connect the circle, chain 1 and rotate
R5-R9: SC in each stitch of the previous row, keeping a constant of 20 SC, connect the circle, chain 1 and rotate to continue next row
R10: SC 3 stitches in a row, SC decrease using fourth and fifth stitches of R9, repeat until you have 16 SC, connect the circle, chain 1 and rotate to continue next row
(Stuff the head with cotton to the firmness of your liking.)
R11: SC 2 stitches in a row, SC decrease using third and fourth stitches of R10, repeat until you have 12 SC, connect the circle, chain 1 and rotate to continue next row
R12: SC 1, SC decrease using second and third stitches of R11, repeat until you have 8 SC, connect the circle, chain 1 and rotate to continue next row
R13: SC decrease using first and second stitches of R12, repeat pattern until you have 4 SC, connect the circle, chain 1 and rotate to continue next row
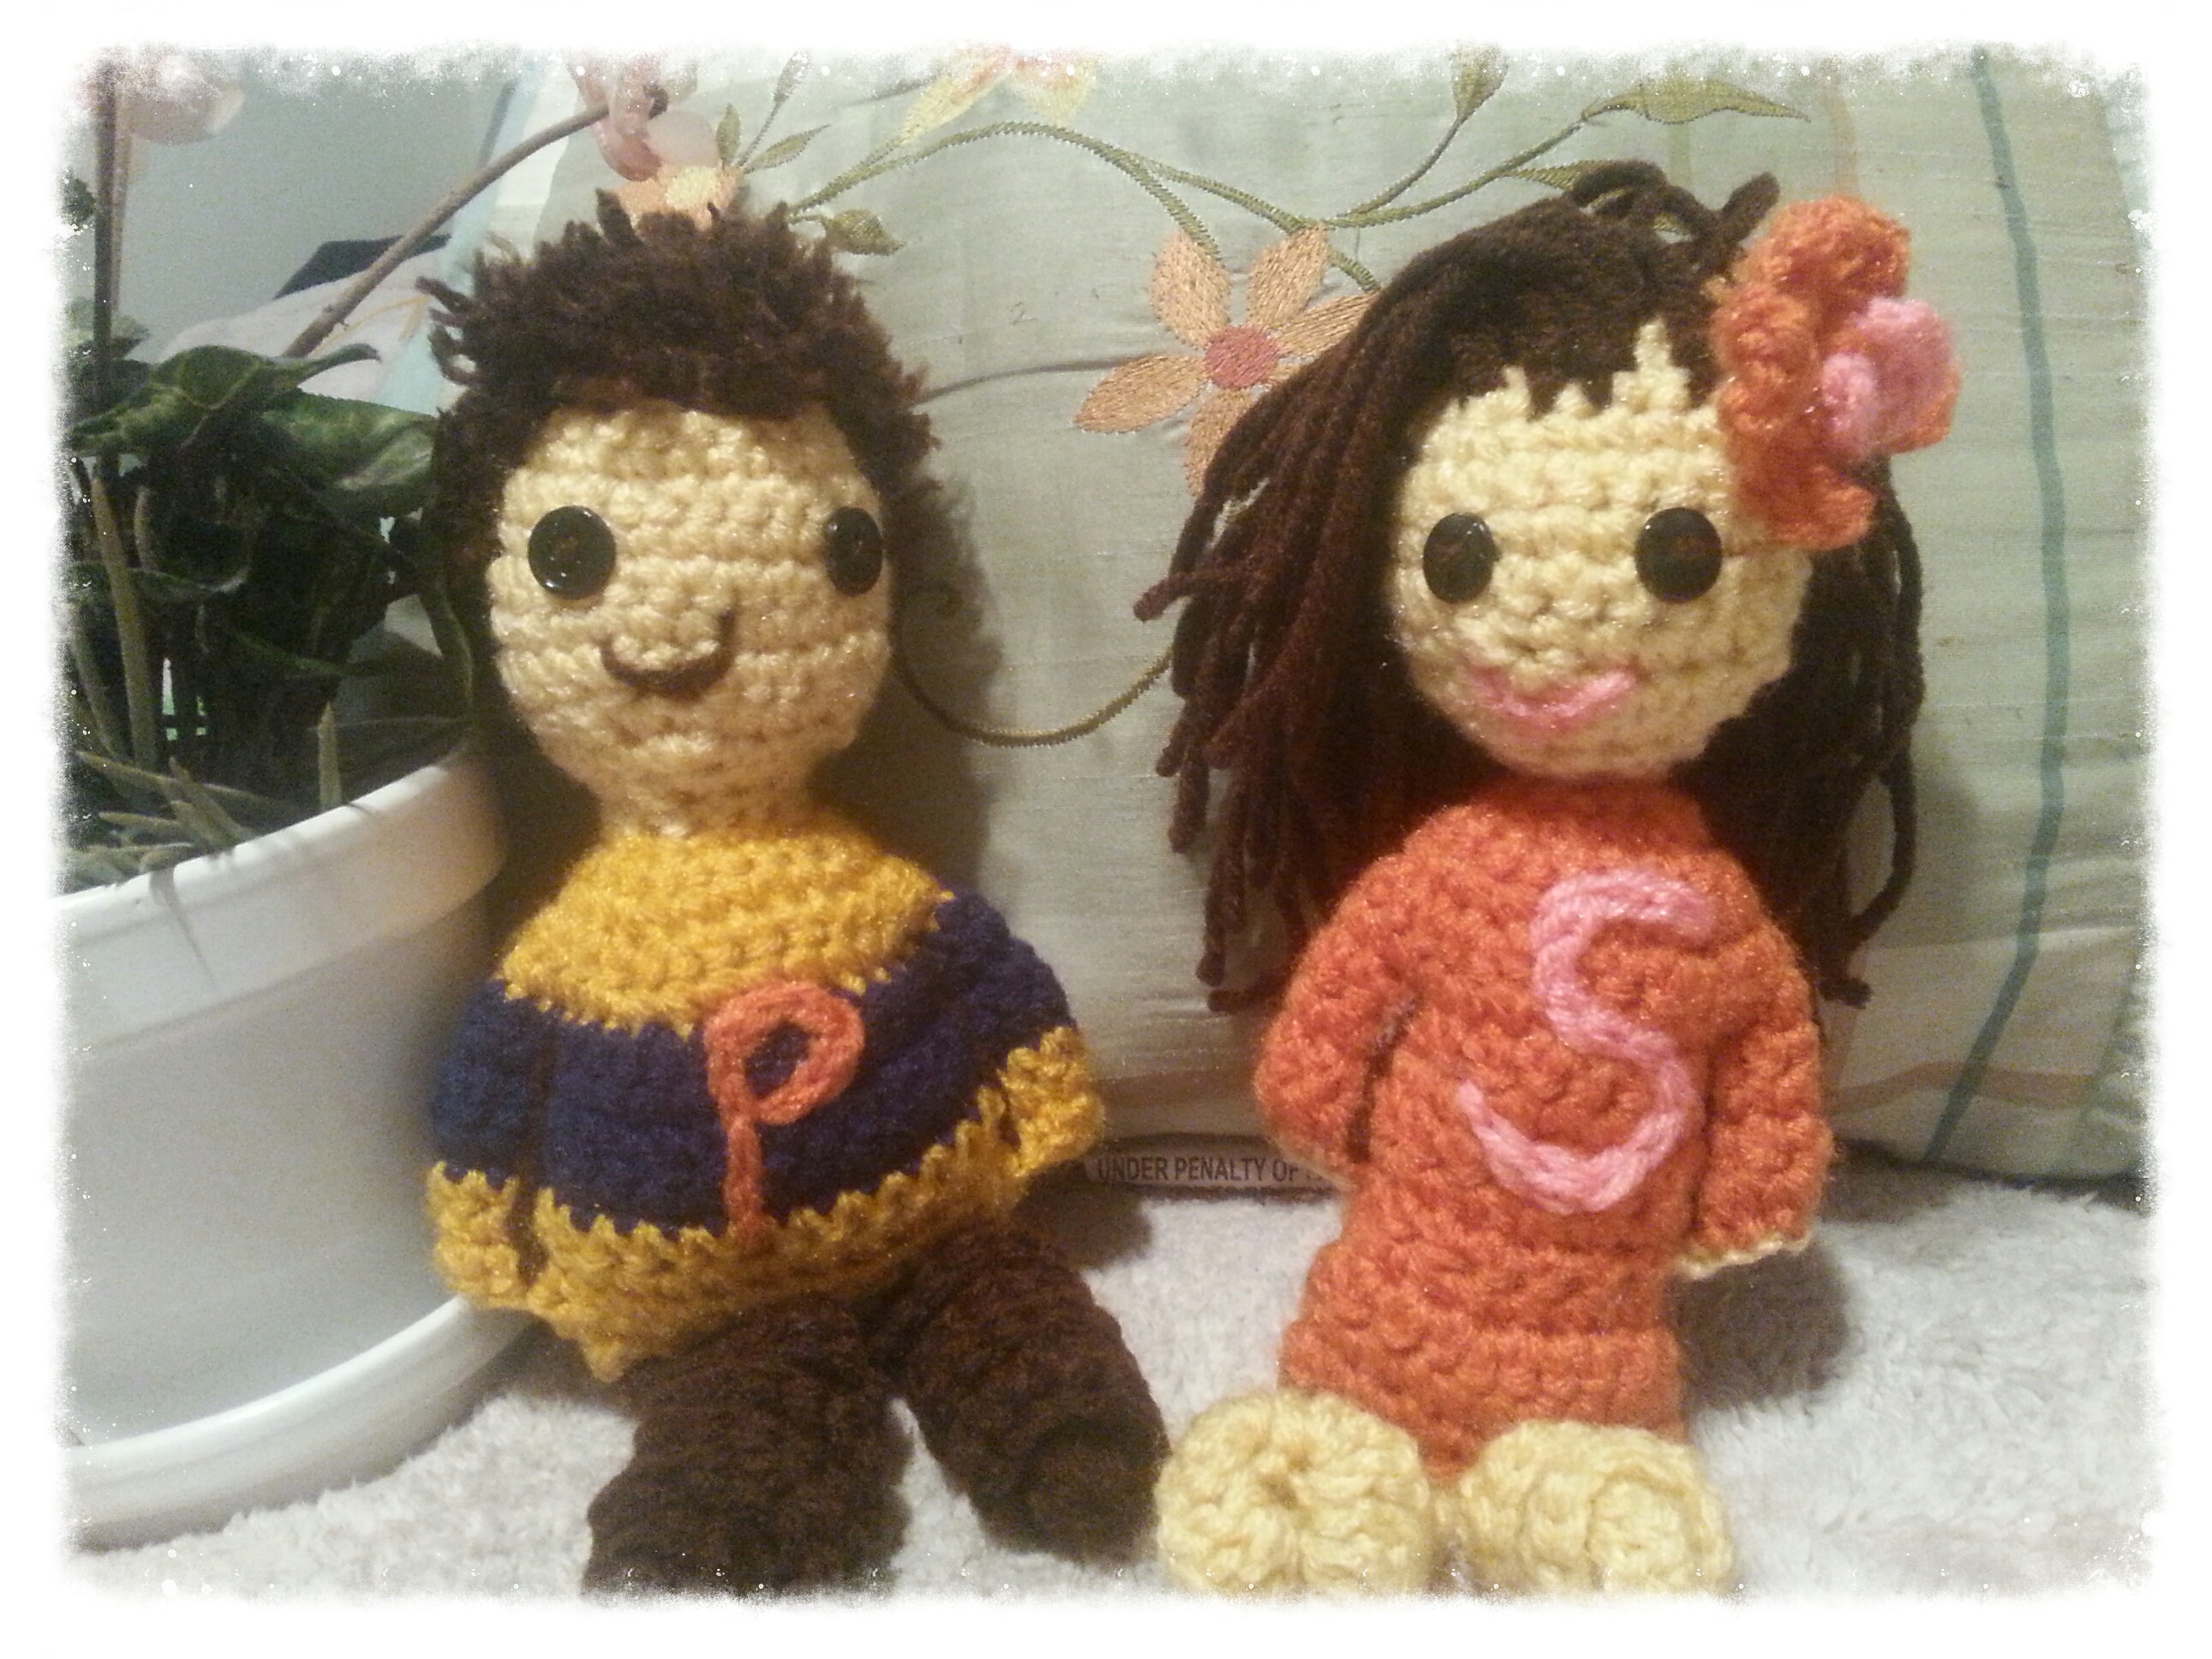
DON’T BE AFRAID TO BE CREATIVE WITH COLORS, BUTTONS, AND BEADS!
Body-
(Switch to desired color of yarn for the body)
R14: SC 2 in each stitch of R13 until you have 8 SC, connect the circle, chain 1 and rotate to continue next row
R15: SC 1, SC 2 in the next stitch of R1, repeat until you have 12 SC, connect the circle, chain 1 and rotate
R16: SC 2 stitches in a row, SC 2 in the third stitch of R2, repeat until you have 16 SC, connect the circle, chain 1 and rotate
R17: SC 3 stitches in a row, SC 2 in the fourth stitch of R3, repeat until you have 20 SC connect the circle, chain 1 and rotate
R18-R25: SC in each stitch of the previous row, keeping a constant of 20 SC, connect the circle, chain 1 and rotate to continue next row
(Attach the doll’s arms and legs where you would like them positioned. Fill the body with cotton to the firmness of your liking.)
R26: (To close off body) Lay pattern ends flat to make 1 top and 1 bottom layer, matching up the stitches of R25 in pairs, chain through one top stitch for every bottom stitch until you have a total of 10 chains. Finish off, weave in ends.
Hair-
For long hair, cut strips of yarn between 5″-6″. For short hair, try 2 1/2″-3″. Weave them into the back of the doll’s head by folding the yard in half and pulling the loop end diagonally through a stitch. Then pull the two loose ends of yarn through the loop as if making a chain, but continue pulling the yarn ends all the way through the loop. Tighten at the root and move onto next strand.
